It’s obviously best avoided if possible – for more info, see our previous blog post on Running Injury Avoidance here.
There are of course many benefits in seeking the diagnosis, treatment, and advice of a Physio, however, for those of you who want to have a go at alleviating symptoms yourself – let’s dive in.
The three most common areas of heel pain will be looked at over a 3 part blog series:
Part 1 – Pain under the heel, where the muscles of the foot attach, found here
Part 2 – At the back of the heel where the Achilles Tendon attaches (this post), and
Part 3 – The Achilles Tendon itself, found here
All three require slightly different exercises to rid yourself of symptoms.
For a brief introduction and overview of Heel pain, see our previous post on Heel Pain, found here.
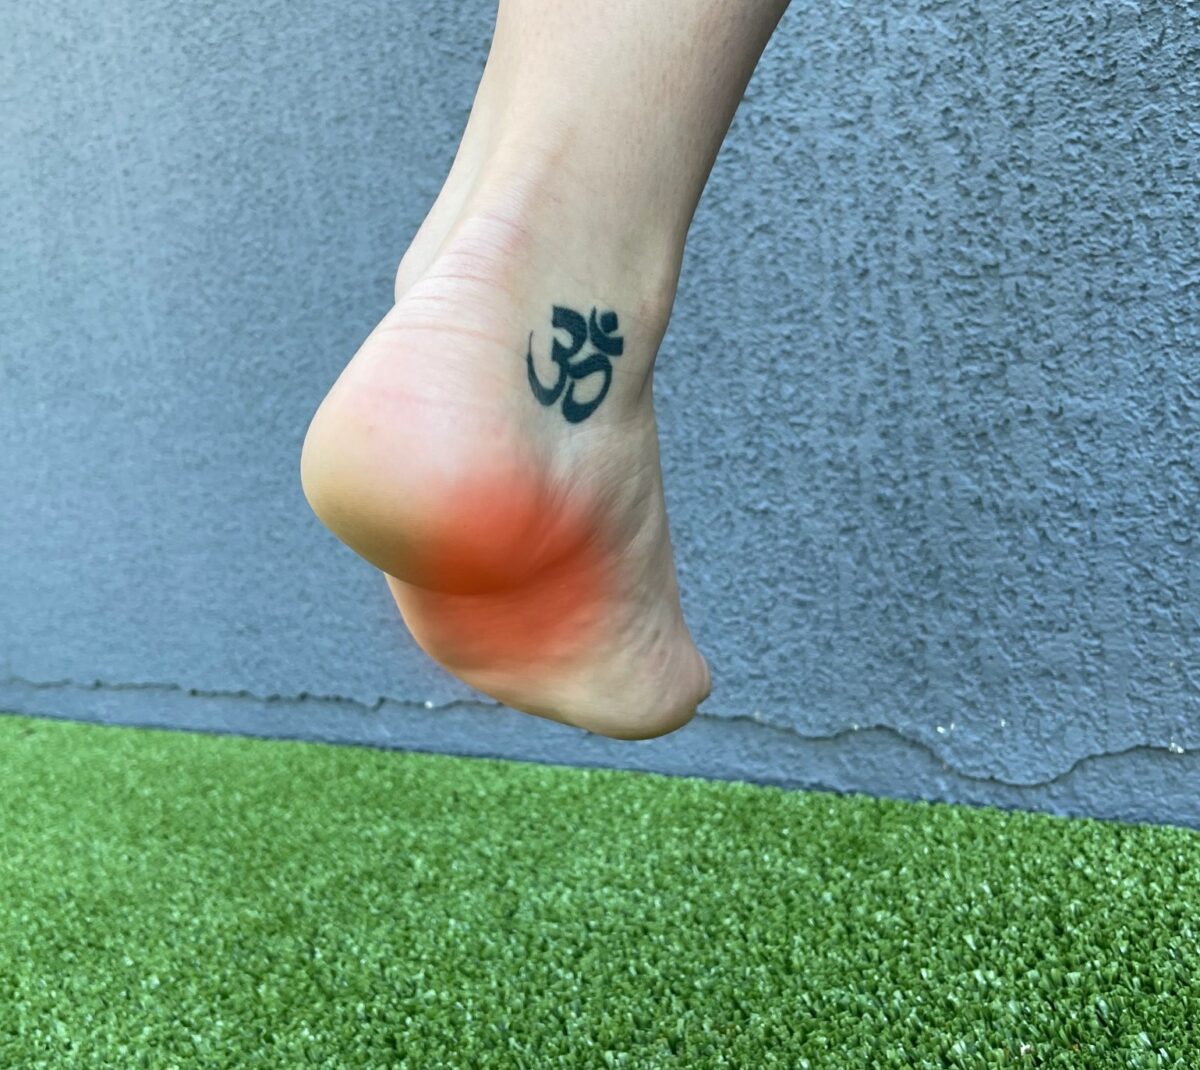
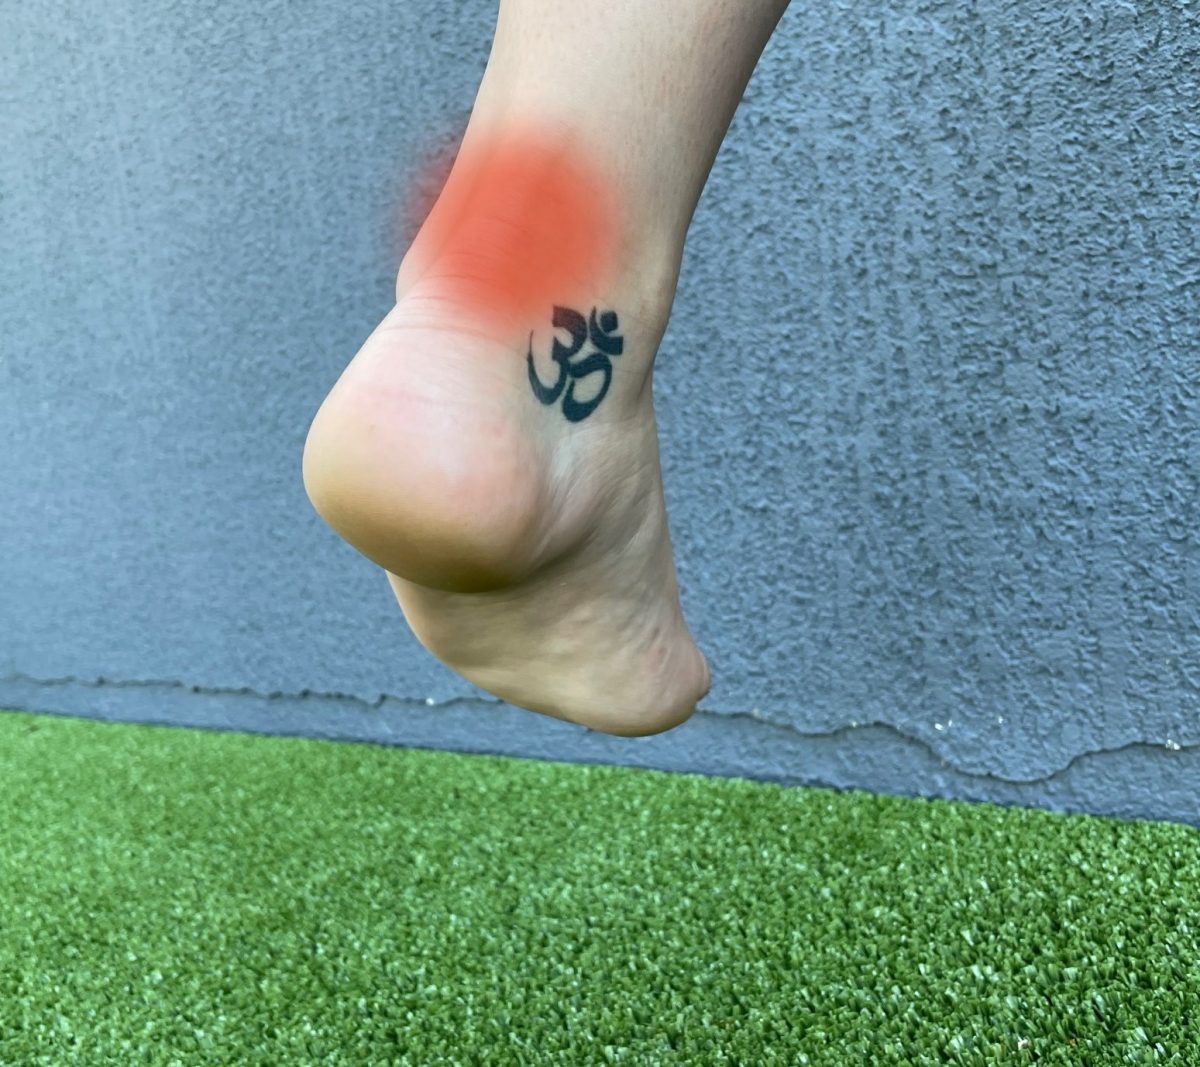
Pain at the back of the Heel is felt where the Achilles Tendon attaches to the bone. Pain occurs because the attachment is too weak, and strains to hold onto the bone.
Things you’ll need:
A Foam Roller – A great self massage tool that can be used for many common ailments, as well as a terrific preventative of injury. Alternative: Massage Gun.
A Step (not pictured)
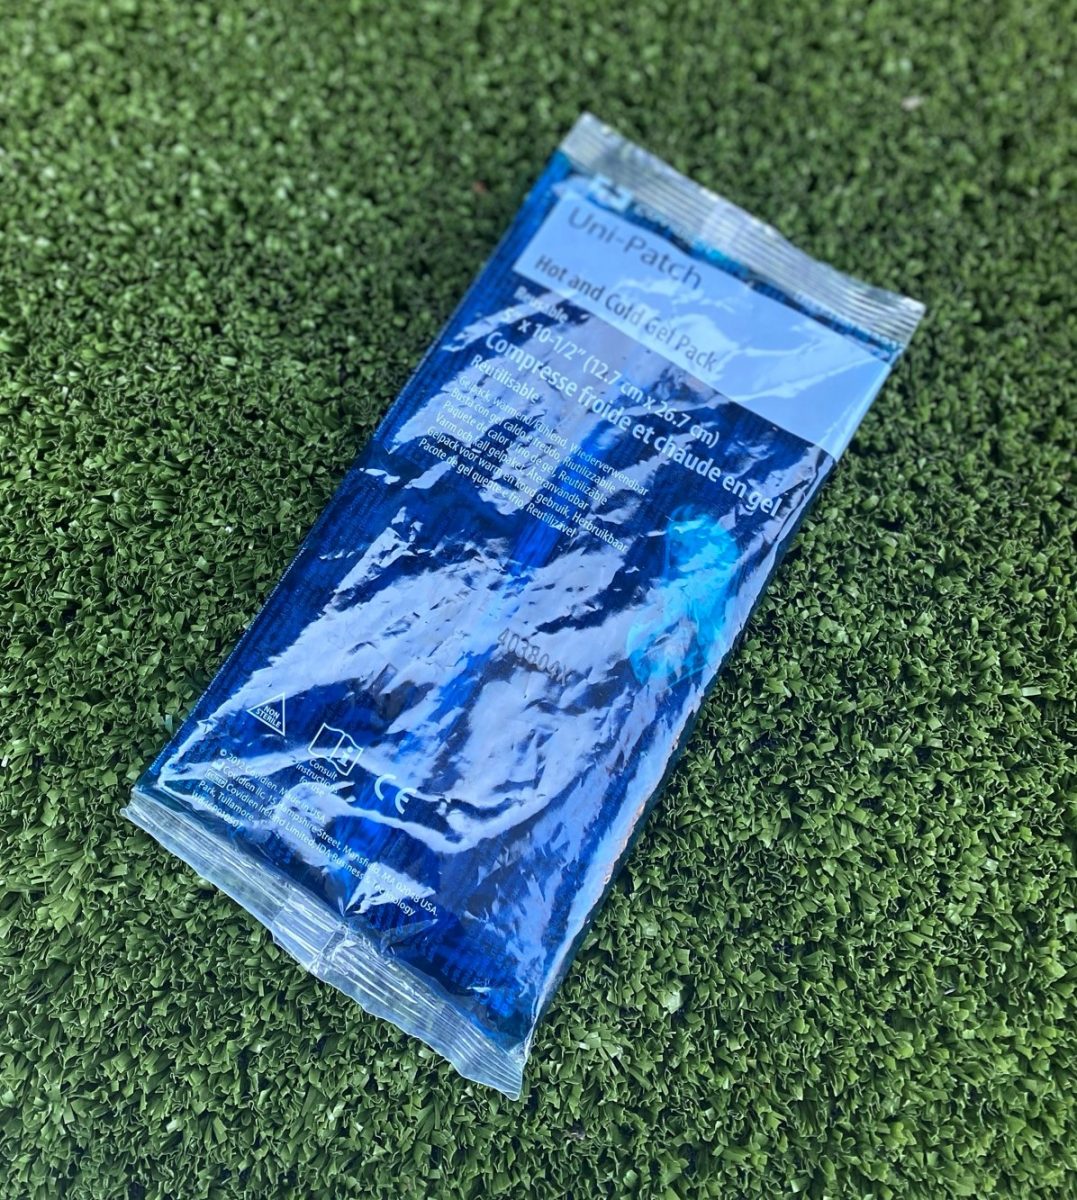
An Ice Pack.
Here’s what you need to do:
To get over Heel Pain, you’ll need to firstly back off on the load – running/walking/training, and then focus on restoring mobility, followed by flexibility, and finally strength. As the symptoms settle, you can then slowly start to up the load again towards your previous level. There’s a table outlining the rehab protocol at the bottom of this post.
Mobility:
Foam Roller
Foam Roller: Soft tissue self massage of the lower leg muscles, especially the bottom half – the Soleus muscle.
Start here. If you can’t feel too much discomfort (foam rolling isn’t meant to feel pleasant!), put your other leg over the top to add a bit more pressure.
Flexibility
To get the best effect, stretch the muscles of the feet, and lower legs after some gentle mobility exercise, like walking for 5-10 mins. If the heel pain is severe, stretching cold (without walking beforehand) can make the protective spasm worse. Feeling pretty good? – carry on below
Stretching cold (without walking beforehand) can make the protective spasm worse.
It’s important to avoid pain at the back of the Heel when stretching. Take it easy. Gentle stretching is the key.
Stretch the calf muscle but back off slightly if you feel any pain at the back of the heel.
Let the heel hang off the of a step – any pain? stop and move onto the next stretch
This is an awkward stretch to perform, but really hits the spot related to back of the heel pain. Back off a bit if you feel any pain whatsoever.
Strength
Before you start the strengthening process, we must first address a common technique mistake when performing a heel raise – Flaring the Ankles
Learning the art of ‘Toe Yoga’ will help direct the force through the Big Toe, without scrunching up and clawing with the other toes – another common error we see when people are doing a simple calf raise. Especially noticeable when doing a single leg calf raise.
Warm up with a set of heel raises, with partial drops. The back of the heel can become irritated and painful if doing the typical heel raises off the floor.
The aim is to build up to 15 repetitions. But! Remember – The body needs time to adapt to a new exercise program. Start with 10 reps, or even fewer if you’re struggling, and add 1 rep per day to your workout till you get to the magical 15 mark.
Feel free to put your runners on to make these exercises more comfy.
Remember to drive through the big toes, keeping the others relaxed, to prevent the Ankles from flaring:
Once you can do these without any pain progress to the full heel raise with each repetition done from the floor. Careful though – you can get a delayed reaction to pain when strengthening the tendons. If the back of the heels are more sore than you’re used to the next morning, best to go back to the partials (above) for another week.
Tendons need time to adapt to a new exercise routine.
The best strength effect occurs when you can do this exercise off the back of a step. This has to be done completely pain free. It may take some weeks before you can progress to this, so be patient, and don’t force it too early:
Once you’ve been doing 15 reps for a week or 2, (see table below), progress to doing these last two exercises on one leg. Once again, try and start at 10 reps and build slowly to up to 15.
Well done!
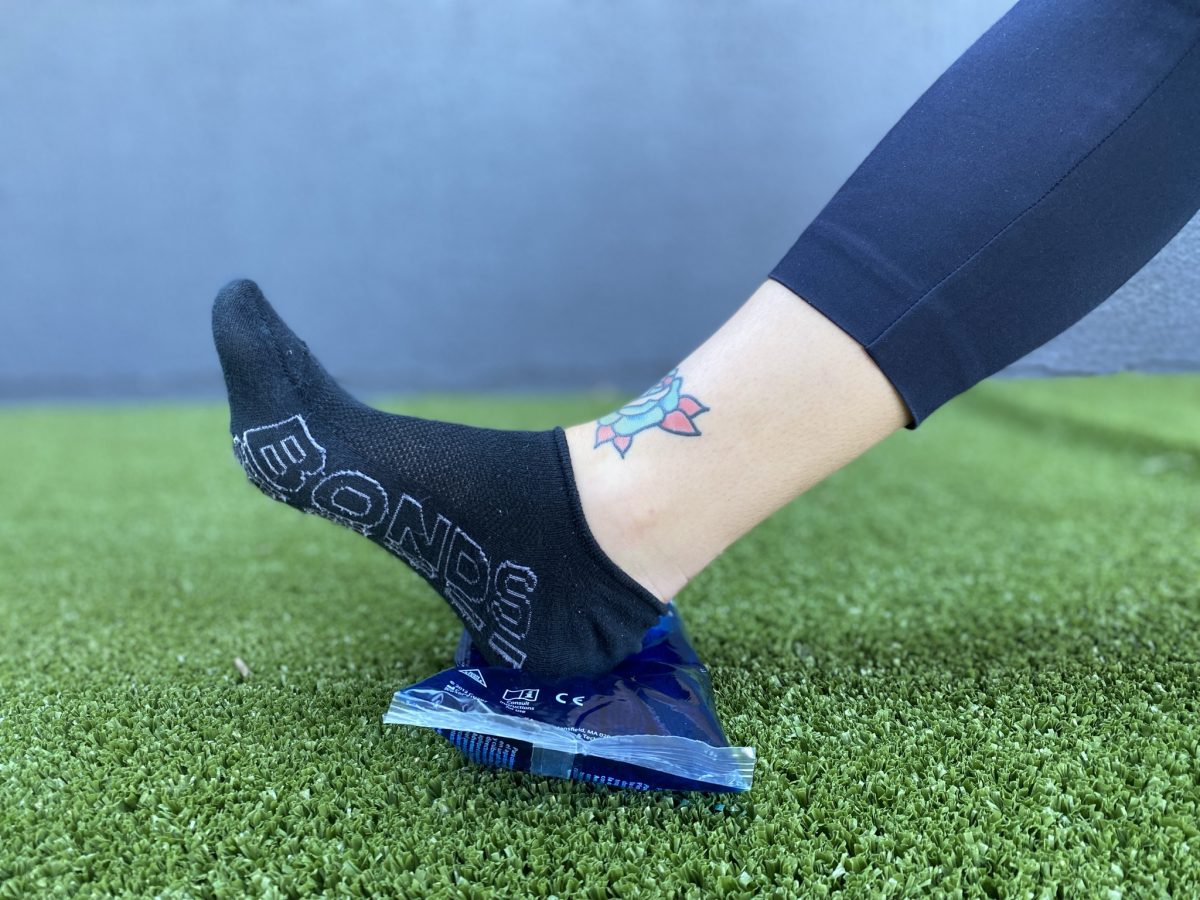
Now finish with the foot resting on an Ice Pack for 20 minutes.
How long will this take to get better!?!
Heel pain typically occurs at the tendon attachment to the bone. Pain occurs because the tendon attachment is too weak, and strains to hold onto the bone. Tendon fibres breakdown, suffering a series of repetitive microscopic tears, leading to inflammation and pain.
The problem, however, is that inflamed tendons and their bony attachments don’t heal with rest and time. The cure comes from increasing the muscular and tendon strength so it can handle the stress you are applying to it with walking and exercise.
The inflammatory part of the healing process can take up to 6 weeks to settle right down in the most severe cases. And another 6 weeks to strengthen.
Before you get too caught up in that total 12 week recovery period, most people notice a significant loss of symptoms after as little as 2-3 weeks, with a complete loss of symptoms over that 6 – 12 week period.
Recovery from this, is by no means easy. It takes persistent and consistent effort on a daily basis.
Here’s a typical program for the average person, who’s being suffering from a moderate amount of pain at the back of the heel for a few weeks:
| Weeks 1 – 2 | Do the following exercises: Once per day in week 1 | ||
| Twice per day by week 2 | |||
| Mobility | Foam Roller with as much pressure as tolerated | 2 mins Soleus | |
| 2 mins Calf | |||
| Toe Yoga | 10 reps | ||
| Flexibility | Stretch against a wall (1 leg at a time) | Straight Knee | 3 x 20 seconds |
| Bent Knee | 3 x 20 seconds | ||
| Strength | Heel Raises with Partial Drops (both legs at once) | Straight knees | 10 reps (in week 1) |
| Straight knees | 15 reps (by week 2) | ||
| Ice pack | 20 minutes |
| Weeks 3 – 4 | Twice per day | ||
| Mobility | Foam Roller with as much pressure as tolerated | 2 mins Soleus | |
| 2 mins Calf | |||
| Toe Yoga | 10 reps | ||
| Flexibility | Stretch against a wall (one leg at a time) | Straight Knee | 1 x 20 seconds |
| Bent Knee | 1 x 20 seconds | ||
| Stretch off the edge of a step (both legs at once) | Straight Knee | 1 x 20 seconds | |
| Bent Knee | 1 x 20 seconds | ||
| Strength | Heel Raises off the ground (both legs at once) | Straight knees | 15 reps |
| Bent knees | 15 reps | ||
| Heel Raises off the ground (1 leg at a time) | Straight knees | 10 reps (in week 3) | |
| 15 reps (by week 4) | |||
| Bent knees | 10 reps (in week 3) | ||
| 15 reps (by week 4) | |||
| Ice pack | 20 minutes |
| Weeks 5 – 6 | Twice per day | ||
| Mobility | Foam Roller with as much pressure as tolerated | 2 mins Soleus | |
| 2 mins Calf | |||
| Toe Yoga | 10 reps | ||
| Flexibility | Stretch against a wall (one leg at a time) | Straight Knee | 1 x 20 seconds |
| Bent Knee | 1 x 20 seconds | ||
| Stretch off the edge of a step (1 leg at a time) | Straight Knee | 1 x 20 seconds | |
| Bent Knee | 1 x 20 seconds | ||
| Strength | Heel Raises off a step (both legs at once) | Straight knees | 15 reps |
| Bent knees | 15 reps | ||
| Heel Raises off a step (1 leg at a time) | Straight knees | 15 reps | |
| Bent knees | 15 reps | ||
| Ice pack | 20 minutes |
| Weeks 7 – 8 | Twice per day | ||
| Mobility | Foam Roller with as much pressure as tolerated | 2 mins Soleus | |
| 2 mins Calf | |||
| Toe Yoga (should be mastered by now – no need to do them) | 0 reps | ||
| Flexibility | Stretch against a wall (one leg at a time) | Straight Knee | 1 x 20 seconds |
| Bent Knee | 1 x 20 seconds | ||
| Stretch off the edge of a step (1 leg at a time) | Straight Knee | 1 x 20 seconds | |
| Bent Knee | 1 x 20 seconds | ||
| Strength | Heel Raises off a step (1 leg at a time) | Straight knees | 15 reps x 2 sets |
| Bent knees | 15 reps x 2 sets | ||
| Ice pack | 20 minutes |